This may be the understatement of the millennium, but the precision, ‘magic’, inexpensive nature and use-of-ease of highly advanced electrical technologies across the spectrum of industry has revolutionised the way businesses do business. It was a full 100 years ago when researchers began to understand that because materials like wood have electrical properties, they could use that factor to get an understanding of the materials’ moisture content. Fast forward to today, and you can hold a portable, fully digitised and highly accurate moisture meter in a single hand and get an instant reading for a growing list of materials, now including paper, soil, concrete, grain – and much, much more. (And you can get one at any reputable supplier like RS Components).
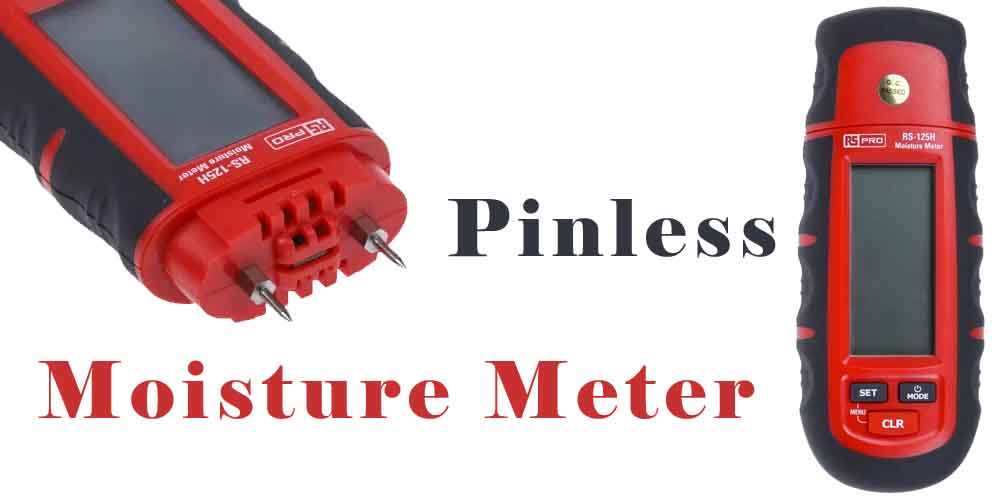
Those relatively new to the now vast world of moisture meters are probably most familiar with the pin-type variety, featuring two simple electrodes (the pins) that are pressed into the material. How much moisture is present in the material will affect the way electrical resistance flows between the two probes – more moisture will result in greater flow, while less moisture impacts the flow.
But there is another moisture meter type you need to know about – because it could be about to make your operations and tasks easier, faster, more flexible, more accurate, and less damaging:
How does a pinless moisture meter work?
Rather than needing to leaves pin holes in that often delicate material like a craftsman’s precious wood, the pinless meter features an electromagnetic sensor pad instead. Nonetheless, measurements can still be obtained at different depths under the surface, because of the way the electromagnetic signals do the penetrating work to scan a larger area of material with easy, multiple measurements that won’t leave even the tiniest pin hole behind.
If you’ve ever seen a pinless moisture meter in action, it’s something to behold. Like a doctor quickly moving the stethoscope’s chest piece across your body to get multiple quick feedback for an accurate picture of what’s going on with your heart, watching a pinless moisture meter user in action is very similar as it is moved about with speed and ease, instantly displaying moisture content as a percentage on the display.
And how to use one for yourself? It couldn’t be easier:
1. Inspect
Before starting, do a visual inspection of the material in question, checking for obvious signs of moisture.
2. Baseline reading
Let’s say you’re a builder or a building inspector, and you want to check a section of plasterboard for moisture content. Based on your visual inspection, take a reading from an obviously dry section of wall – that’s your baseline reading.
3. Comparative reading
Now, move on to the sections of plasterboard that you’re most concerned about, and take rapid, multiple readings close to one another simply by moving the activated meter around the immediate area in small increments.
4. Moisture map
Many modern pinless moisture meters include recording and analytical tools that take those multiple spot readings and can effectively ‘map’ the varying moisture content of a large area of material, enabling unprecedentedly fast, accurate and revealing insights into wider moisture distribution.
Of course, with so many moisture meter models and options across the pinless and pin-type device categories, the precise usage instructions should be obtained directly from the manual. In some cases, a pinless moisture meter can give the user a wider, more general overview of affected moisture areas before reverting to a pin-type variety for a highly specific reading between those probes at a precise physical depth. Bear in mind that multi-meters featuring both pinless and pin-type capabilities can also be a wise choice for organisations, but always check in with an expert to get tailored advice for your specific application, project or industry.


