


1. Choose the right paint. Daily wall paint contains a formula that is not suitable for surfaces like cabinets. It is known for its chip and will not stand up well to repeated cleaning. It costs more, but the choice of alkyd enamel, such as Benjamin Moore Advance or Sherwin Williams Pro Classic, will be better in the long run, and since the formulas are self-made, they will easily eliminate you. Find out more about alkyd enamel in this post.
2. Choose a color that makes your stuff look good. Consider this: I had very old, black appliances in the kitchen of my old house. They stood like thumbs wrapped around an oak cabinet. When I stained all the cabinets in dark brown, the black appliances almost disappeared. Magic! In this kitchen, we have an abundance of almond accessories that are not exactly ready to kick the bucket, and almond is not my favorite choice for appliances, but miraculously, cabinets are similarly lightweight. By painting the color of the sand, it suddenly looks perfectly fit. When we finally update, we will probably move on to stainless steel tools, which will still fit well.
3. Remove all hardware. Knock every last screw of the hinge. Magnets that help keep the door closed. It takes time, but once you start improving the surfaces, it’s worth it.
4. Take the time to manage the hardware. One of the best suggestions I made was to put a number on the bottom of each door and label where the hinges go in the frame. Label a plastic bag filled with the same door hardware. Place a small piece of painter’s tape on the number on the door, so when the painting is complete, you remove the painter’s tape and see the number. The small space where you typed the number should be fairly uncontroversial (not visible) (ideally, this capture will be hidden behind hardware).
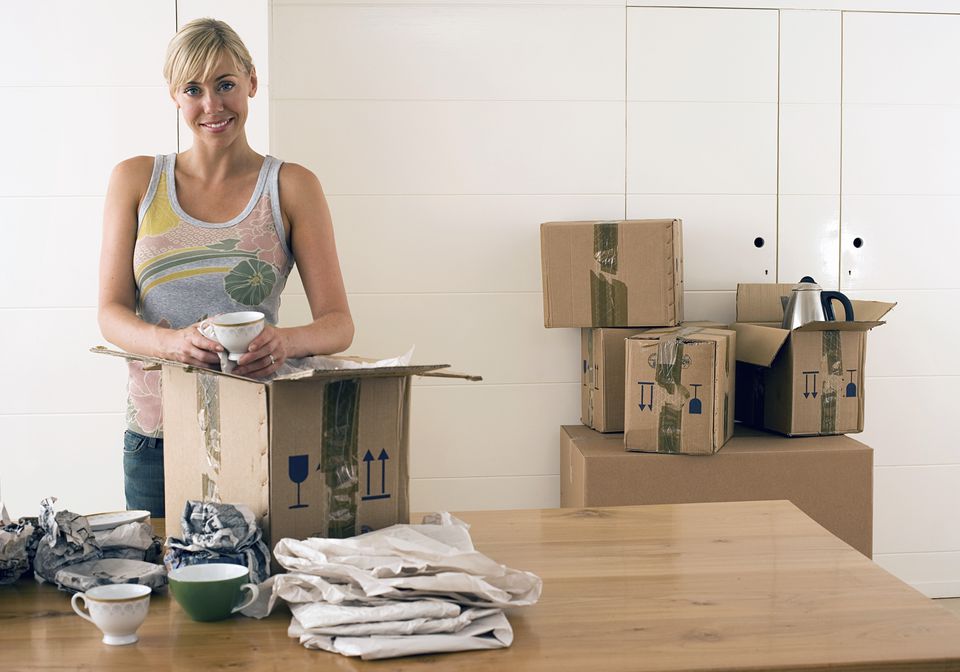
5. Pack your kitchen cabinets neatly. Each person packs paper bags or plastic boxes for the cabinet “like a pantry”, so that the contents can be easily returned to their home while the work is in progress. Keep small appliances out of the way. Keep in your kitchen what you use most often (frying pan, your big pasta pot). Move your silverware into coffee mugs – one for each spoon, fork, knife, and utility serving – and let them become the centerpiece on your dining room table. You’ll still need them throughout your project, so it’s best to keep them working.
6. Roll out the carpets, clean the countertops and remove the curtains. You’re going to mess up.
7. Consider buying or renting a handheld electric sander. Regardless of the surface you are cleaning, it is important to sand all surfaces to create the best area to retain the primer and paint. You’re going to cover a lot of ground, and an orbital detail sander will speed up both processes, level the surface evenly, and try harder to eliminate your own muscles. I was painting on solid wood, but if you’re painting in pieces, consider the hint I gave in this post, where I cleaned up the pieces one by one.
8 .Buy lots of sandpaper. Buy multiple packs of sand sand paper to fit your palm sander (before painting I used 80 sheets to prepare the surface of my 40+ doors and base cabinetry and 15 sheets in each of the 120 grit Use). I also bought a packet of 10 sheets of 180 grit sand paper, which I used lightly sand between the coats when priming and painting.
9. Also buy lots of tech clothes. Cleaning the surface is as important as sending the surface. Clean the surface with a teak cloth and remove all dust and debris after weeping. This will remove all the dust from the dirt (you may want to don rubber gloves for this part – the cloth will also make your hands sticky). They sell for only 2 $ 3 for a pack of 2-3, and if you’re like me you’ll use 20+ during the project to handle the dust between coats.
10 Use an oil-based primer. Kills has been recommended by many painting professionals – especially oil-based formulas, not water-based ones. With oil-based formulas, painted white cabinets are less likely to be painted over time than hardwood (wood has to “bleed” and paint has to be painted yellow, especially if it’s a knot.) It is wood. It also creates a well-oiled surface that needs to be painted.
11.If you are painting in dark colors, color the primer to reduce the chances of needing more than one coat. I walked through my kitchen in pairs (can’t wait to show you, but here’s a sneak peek). I started by priming cabinets and doors that would be a light color with a simple white paint primer. When I was finished and ready to make dark colored cabinets and doors, I took half a used can of primer back to the store, and tinted it near the shadow of my paint. He was happy to adjust, and he saved me from buying another gallon of primer.
12. Buy canvas drop fabric. I found this process relatively “slayer free” compared to high nap roller painting walls, but drips and mustaches are the same. (Also, keep the clothes clean and you can make drop cloth curtains, the best tablecloth ever, and many other projects related to the rural movement.)
13. Get a disposable paint tray. Ten trays for tra 5, you can’t go wrong. Keep the plastic disposable tray in your “real” tray so you can move to a stronger level, and then throw it out when you’re done. Easy cleaning
14.Buy extra brushes and paint rollers. Enamel paint is easy to clean with soap and water, and these brushes can be reused many times, but cleaning oil-based paint is almost a hindrance for me. If you also hate it, spend an extra 20 and buy some extra brushes to relieve the pain of cleansing. In any case, brushing works only a short time before cleaning. Before the bursts begin to cover the grass, harden your ability to do complex touch-ups.
15. Use a baggy or plastic wrap to seal your brushes and rollers overnight. This is a good sign if you are going to work for 2-3 days in a row, and especially a helpful tip if you are going to toss instead of cleaning your oil based brushes. Seal them and the paint will be ready for the next day’s work, these branches will stay wet.