


The process of creaming milk is the one through which we get what is popularly known as “milk foam” and that is actually more of a cream.
In this article, I am going to explain some tricks to you to get the perfect heavy cream for your coffees.
The cream obtained is to be a consistent milk foam. It is about getting a milk emulsion that does not crumble at the first change.
Why transform milk?
Starting from a good base, choosing a good coffee is essential to prepare the perfect cappuccino, but it is not everything.
Enjoying a coffee is an experience that involves all our senses and to get the perfect coffee we will have to take care of all the details: a good appearance, a pleasant aroma, a suitable texture and of course, the milk in our coffees is largely to blame for this whole experience.
In a cappuccino, for example, that first taste of the cream in the milk can mark the success or failure of our coffee.
How should the cream of the milk be?
The cream of the milk, beyond being a milk foam with bubbles, must be formed by a consistent system of microbubbles.
Thus, frothed milk for coffee must have millions of bubbles of almost imperceptible size and, at the same time, must maintain a certain consistency.
Hot or cold milk?
It is a fact that starting with cold milk you get better cream.
Surely you already knew this (… or not), but what perhaps you are not so clear about why this happens:
Protein
Milk cream can be considered as an emulsion of micro-bubbles in milk.
These micro-bubbles are supported by a covering formed by the milk proteins themselves.
At low temperatures the air is more soluble with milk, making it easier for it to form many bubbles.
As we increase the temperature, the milk proteins increase their entropy (that is, the speed at which the molecules move), so it will be easier for them to move to form a stabilizing film around these bubbles.
Fats
Another factor that influences the formation of micro-bubbles in cream is the presence of milk fats.
Fats have a negative effect on the formation of milk cream. As they spread across the surface of these milk bubbles, they break them, so we can consider them an inhibitor of their formation.
However, when fats are colder they remain in a solid-state and in this way it is much more difficult for them to disperse and break the ‘foam’. This occurs up to approximately 40ºC.
Therefore, starting from a low temperature will also be appropriate from this point of view.
Fat or skim?
After what is explained in the previous point, it is obvious that the less fat the milk has, the easier it will be to cream it. Therefore, if we use skimmed or semi-skimmed milk it will be easier for us to achieve it.
So… skimmed?
Well not necessarily. In fact, whole milk has other organoleptic properties. Fat gives it very special nuances and a greater creaminess that is often tried to preserve.
A professional barista will be perfectly able to get the correct heavy cream from any type of milk.

But how do you do it?
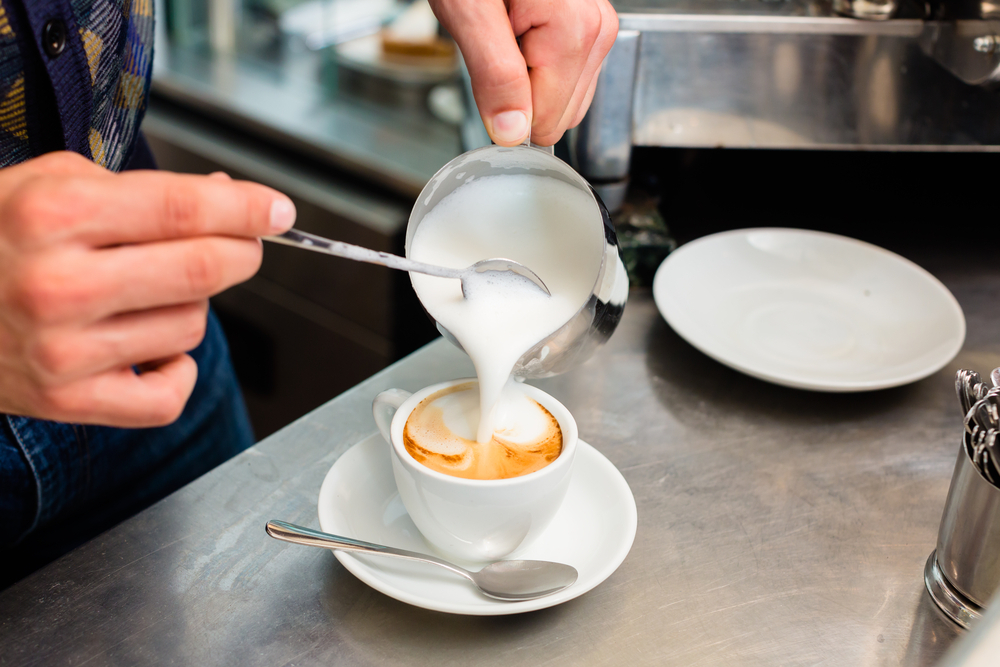
Well, we get to the practical part: let’s see how to cream the milk with the steam from the espresso machine.
For this we will need:
- A stainless steel milk jug
- Milk (preferably whole)
- A thermometer (preferably a barista thermometer, the kind that hooks onto the jug with a clamp)
- A damp cloth
- Tools needed to cream milk
Process
- The first thing to do is open the vaporizer so that it expels the water that may have condensed inside. This can be done on another jug or on a cloth, but being careful at all times not to burn yourself with the steam.
- Fill up to a third or half of the milk jug.
- Place the barista thermometer on the side of the jar.
- Place the vaporizer tube inside the milk carafe so that only the nozzle of the tube is submerged in the liquid.
- Open the steam completely.
- Tilt the carafe so that the spray nozzle (below the surface) points to the side of the carafe. With this, a whirlpool is generated in the milk in the jug. This will cause the characteristic hiss of creaming the milk that will evolve.
- Keep the milk rotating with the nozzle close to the surface, checking that the temperature of the milk never reaches 60ºC.
- Close the vaporizer while taking the vaporizer tube to the bottom of the jug … and we have the milk cream ready for our coffee.
- Never forget to clean the tube with a damp cloth after each use. (But … Beware of burns! The tube is hot)
Overtime (and a little practice) you will see that you can often do without the thermometer since the aluminum jug transmits heat very well and you will end up knowing when it is at the right temperature without having to consult the thermometer.
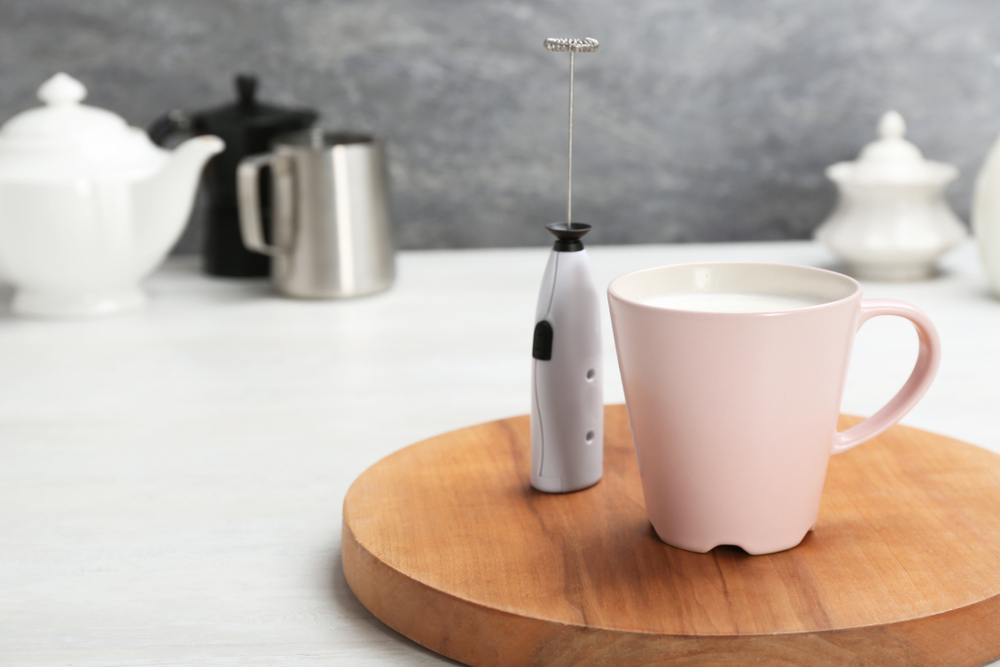
To do the whole process fast and better way you can use an automatic milk frother.
Now you just need to pour the cream into your coffee. With it you can make a simple coffee with milk or become a latte-art artist, but to do it well, I really recommend that you sign up for one of our barista courses. Other methods
There are other methods of ‘frothing’ milk for coffee without using an espresso machine’s frother, but they all rely on churning the milk.
Make no mistake, the result will not be the same.
To achieve a professional result, use steam with sufficient pressure.
Have you already tried?
How have you been? Do you have any other personal tricks or techniques that work for you? Feel free to tell us in the comments.